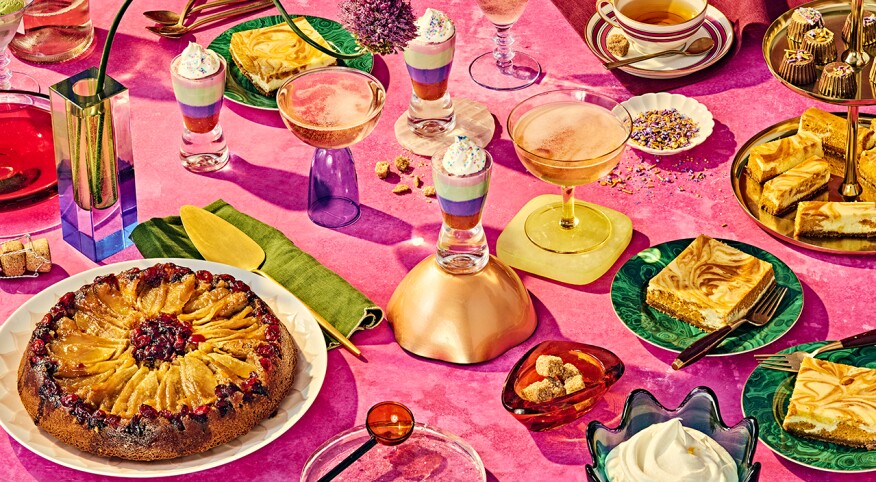
These three easy recipes capture the essence of winter in every bite and will impress your guests with their elegance and delicious flavors.
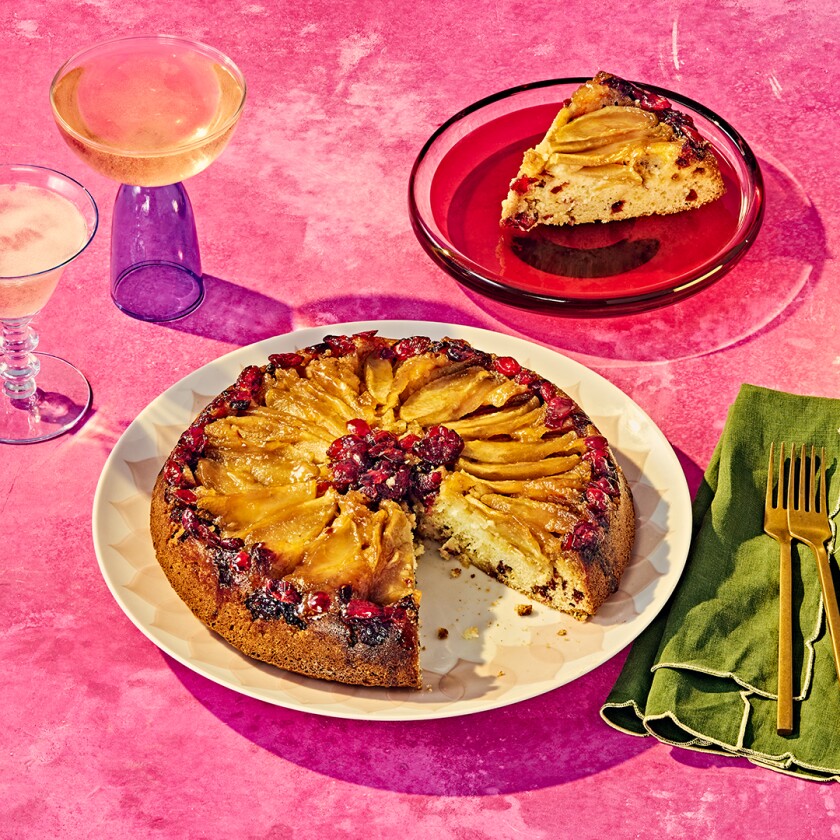
APPLE CRANBERRY UPSIDE-DOWN CAKE
This beautiful dessert from Pillsbury has a topping of sugar-glazed apple slices that looks like you spent hours in the kitchen — yet it only takes 15 minutes to prep. The cranberries give it that extra pop of color and tartness. Top each slice with a scoop of vanilla bean ice cream to make it irresistible!
Serves 12
Topping:
1/2 cup firmly packed brown sugar
1/4 cup butter, melted
1 large apple, peeled, cored, and sliced
1/4 cup sweetened dried cranberries
Cake:
1 package cranberry quick bread and muffin mix
3/4 cup water
2 Tbls. oil
2 eggs
Heat oven to 350. Grease a 10-inch deep dish pie pan. Mix brown sugar and melted butter in a small bowl, then spread this over the bottom of the pan. Arrange apple slices and dried cranberries over the sugar mixture. In a large bowl, combine all cake ingredients and mix until moist. Spoon batter over the fruit. Bake 350 for 35-40 minutes until a toothpick inserted in the center comes out clean. Cool pan for 2 minutes, then invert the cake onto a serving plate. Cool for 20 minutes before serving.
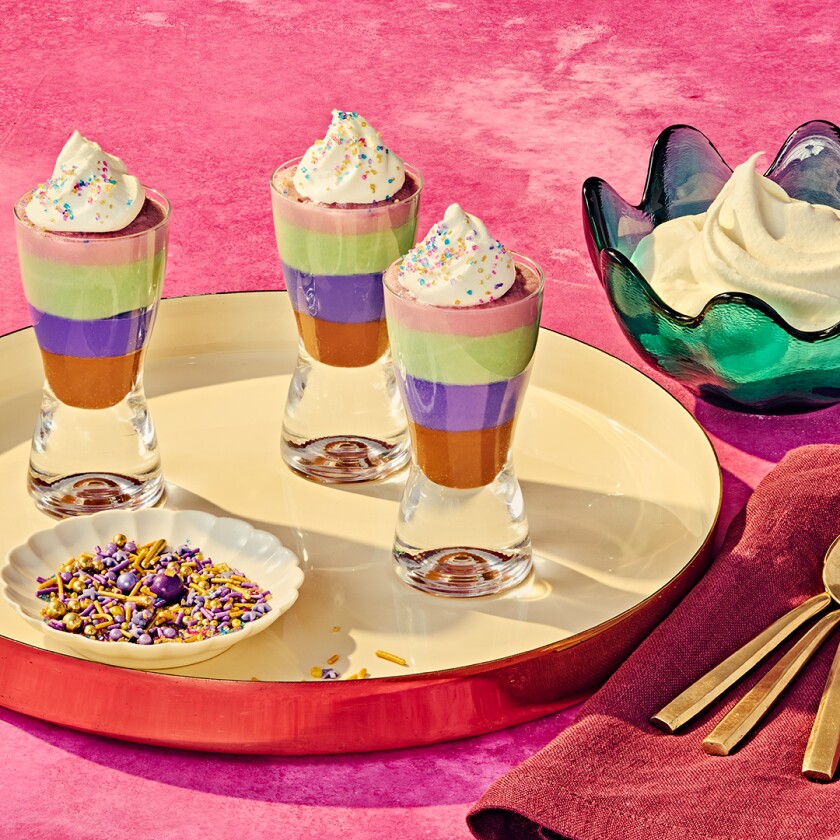
WHITE CHOCOLATE RAINBOW MOUSSE SHOOTERS
This recipe from Club Crafted calls for pastel dyes in layers to give the dessert a rainbow effect, but I took it one step further, using only orange and yellow dyes to turn it into a candy corn-designed dessert. Of course, you can skip the candy corn for topping and use sprinkles or shaved chocolate.
Serves 6 (in tall shot glasses) or 4 (in stemless wine glasses)
1 1/2 white chocolate chips
1 1/2 heavy whipping cream
1/2 tsp. vanilla
*Optional: For the topping, use store-bought whipped cream topping; sprinkles, dark chocolate shavings, or candy corn for an autumn design.
In a bowl, melt white chocolate chips at a defrost setting in the microwave for 30 seconds, stir, and repeat until melted. Heat 1/2 cup of the cream over medium heat in a saucepan until it barely begins to simmer. Whisk this into the bowl with melted chocolate, then add the vanilla until thoroughly combined. Place in refrigerator for 30-45 minutes until chilled. Whip the remaining 1 cup of cream on high speed using an electric mixer until peaks form. Remove the chocolate mixture from the fridge and gently fold in the whipped cream. Divide the mousse evenly into several small bowls. *If you are making the recipe in the candy corn design, you will need 3 bowls---one for yellow dye, one for orange dye, and the last one remains its original color. Add preferred dye colors to each bowl of mousse, then stir until blended. Return bowls to the refrigerator for 1-2 hours. Carefully spoon each mousse color, one at a time, into 6 tall shot glasses or 4 wine glasses in layers.
*Pro Tip: To make the process easier, empty each separate bowl of mousse into several small Ziploc bags, snip the bottom corner of each bag, then pipe it evenly into the glasses.
*If you are making the candy corn design, place the white mousse in the bottom of the glass, followed by the orange, and then finish with the yellow to resemble candy corn. Leave enough room at the top of each glass for the whipped topping.
Return to the refrigerator for at least 1-2 hours until well chilled. Refrain from removing it until you are ready to serve dessert. Top with store-bought or homemade whipped cream and candy of choice (either 2 candy corn pieces for each glass or shaved chocolate, sprinkles, etc.).
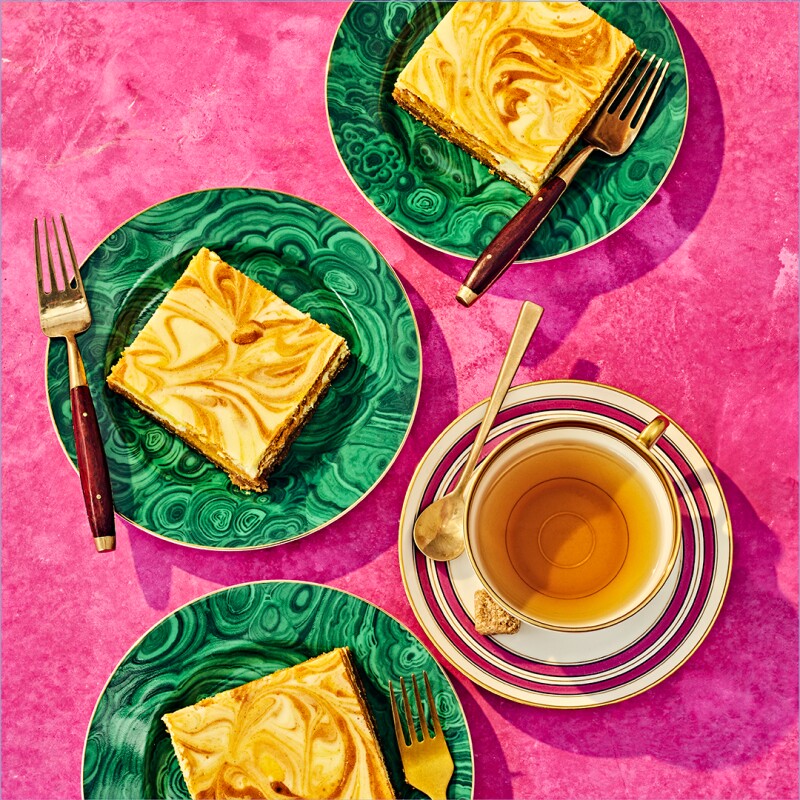
PUMPKIN CHEESECAKE BARS
This dessert from Celebrating Sweets has the creamy richness you'd expect in a cheesecake but with beautiful pumpkin swirls that add to its elegance.
Makes 18 bars
Crust:
15 whole, rectangular graham crackers
1/4 cup sugar
8 Tbls. butter
Filling:
1 1/4 cups canned pumpkin puree (not pie filling!)
1 1/2 tsp. pumpkin pie spice
1 1/2 tsp. cinnamon
1 Tbls. flour
3 (8oz.) cream cheese, room temp
1 2/3 cups sugar
1 1/2 tsp. vanilla
1/2 cup sour cream
1/8 tsp. salt
3 large eggs, room temp
Preheat oven to 350. Line a 9x13 baking pan with foil and lightly grease the foil. Crush graham crackers in a food processor until they are fine crumbs. Combine crumbs with sugar and melted butter in a bowl. Mix well, then press down evenly into the prepared pan. Bake 10-15 minutes until light golden brown. Remove and cool. In a large bowl, whisk pumpkin puree, spices, and flour. Set aside. Beat sugar and cream cheese with an electric mixer until smooth in another large bowl. Add vanilla, sour cream, and salt. Continue mixing. Beat eggs in one at a time, scraping the sides of the bowl as needed. Add 1 1/2 cups of the cream cheese mixture to the pumpkin mixture.
Alternate scoops of the combined pumpkin/cream cheese mixture with scoops of the remaining cream cheese mixture all over the crust. Use a sharp knife to drag/swirl the two mixtures together in Figure 8 designs for a marbled effect (be careful not to let the blade touch the bottom of the pan). Bake for 35-45 minutes until the center slightly jiggles but the edges are set. Cool, then transfer to the refrigerator, and let it chill for at least 8 hours before serving.
What's YOUR favorite dessert to serve when entertaining? Let us know in the comments below.

